Kubernetes The Hard Way Part 1
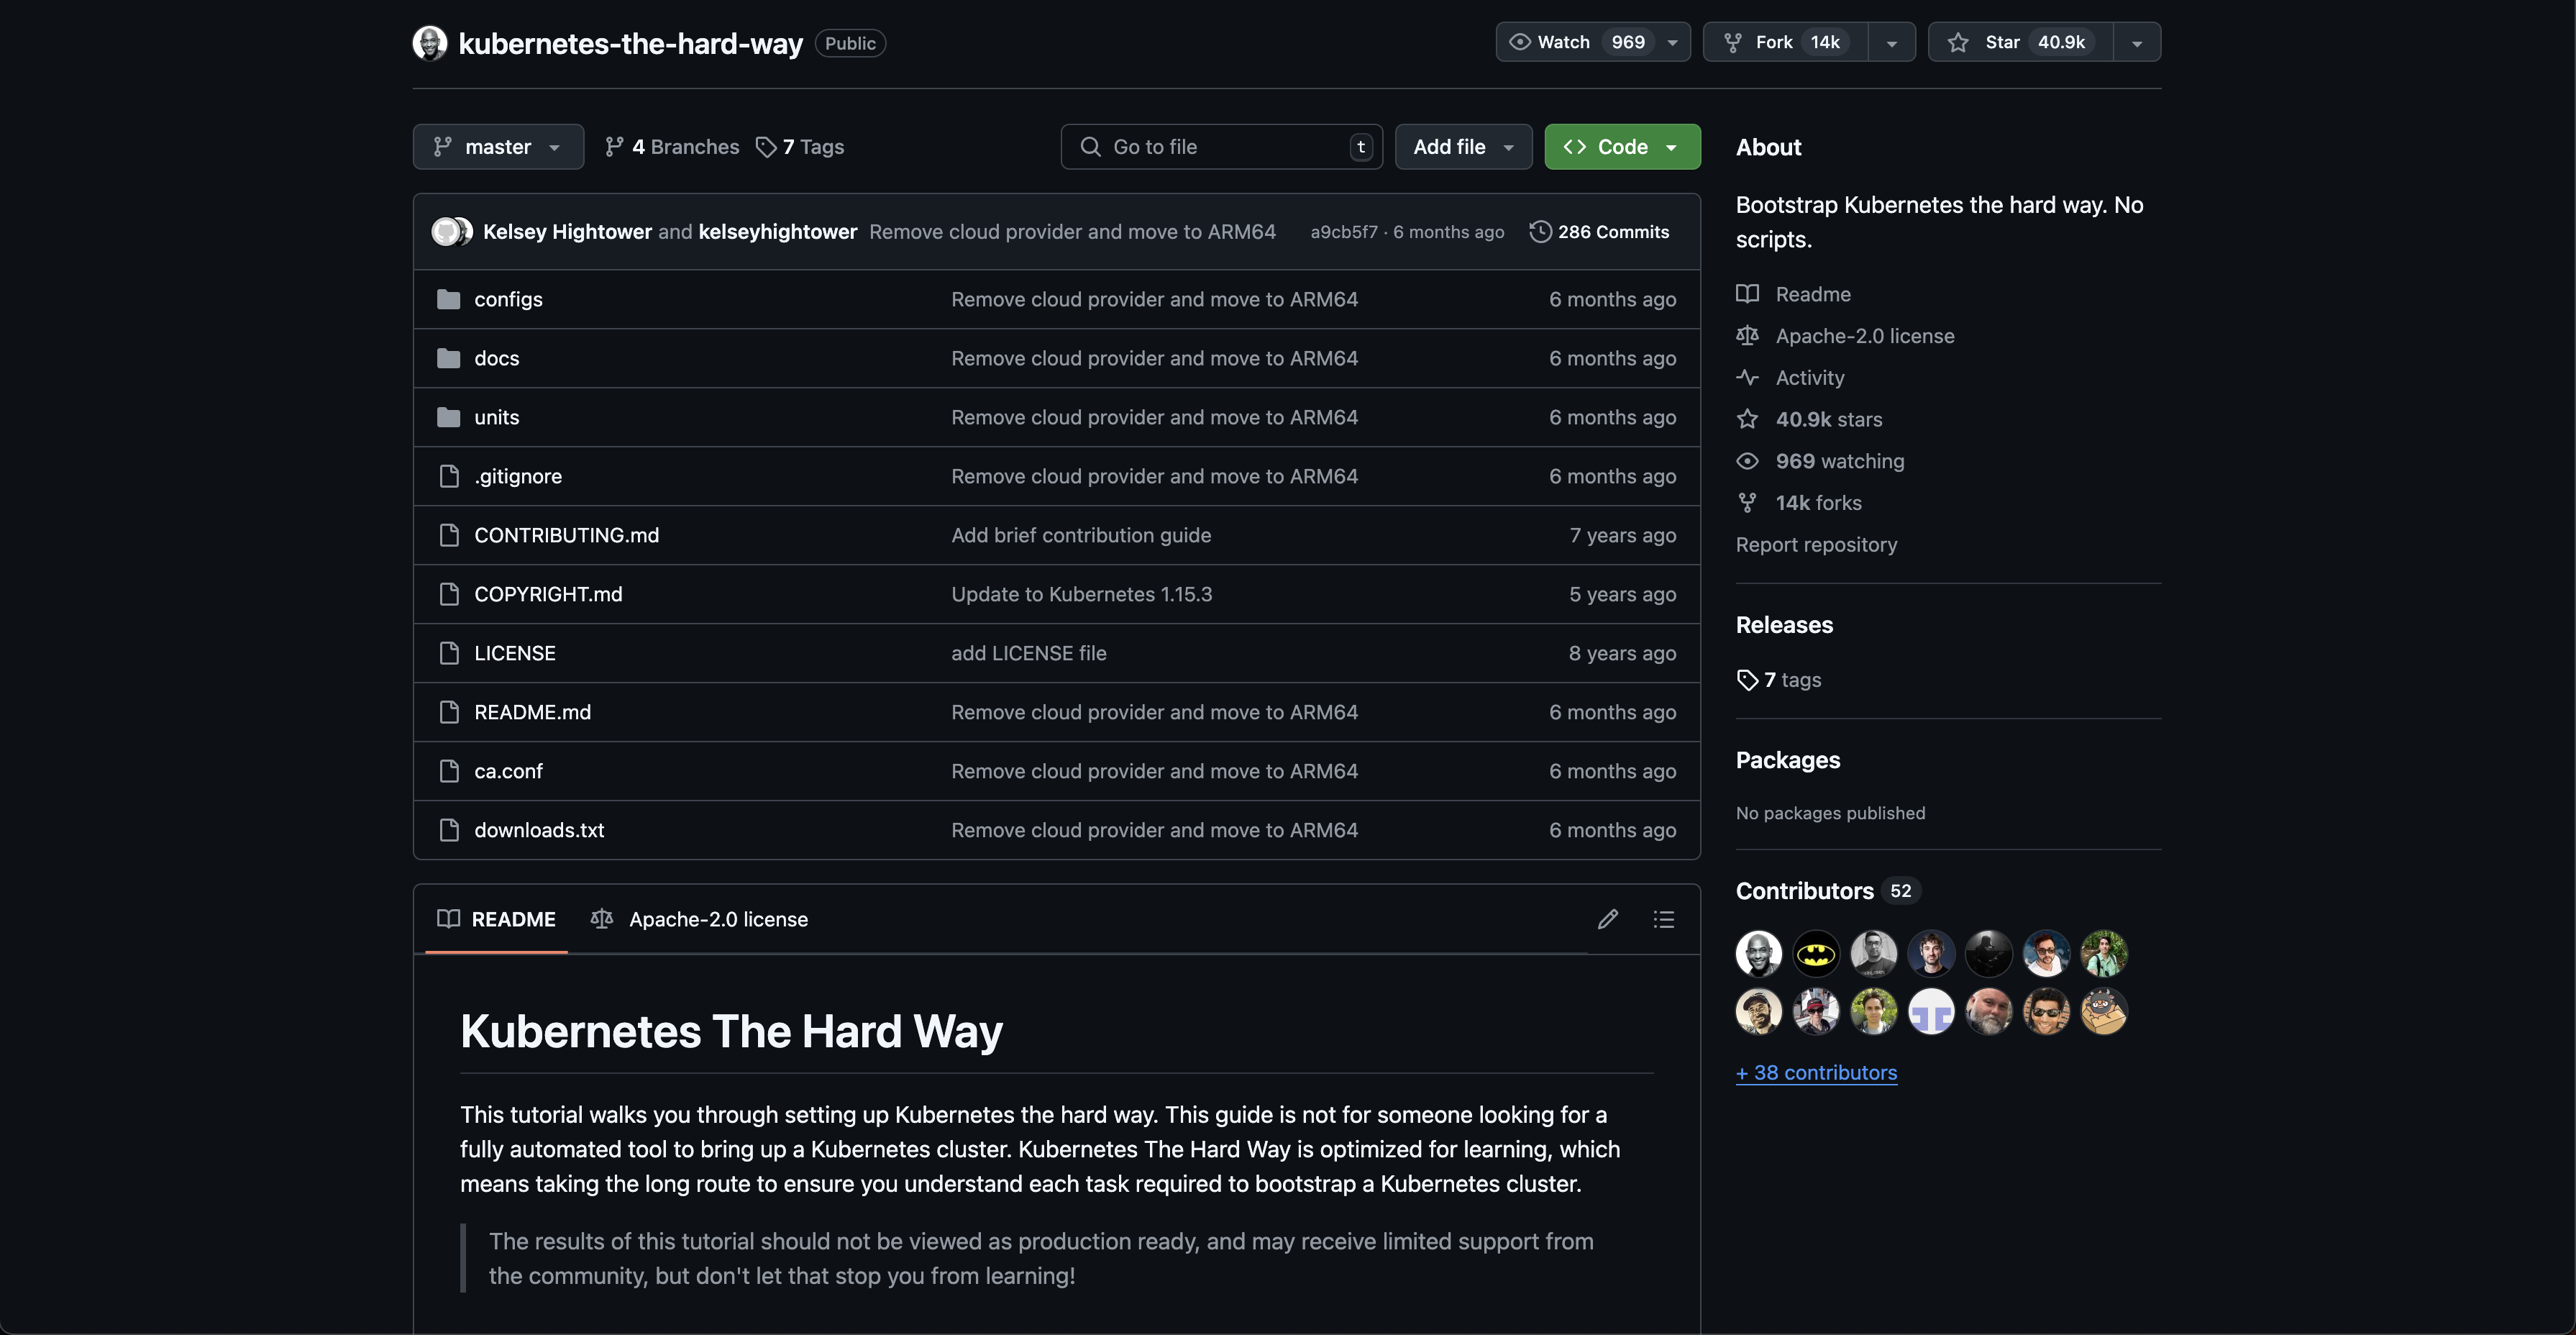
This blog will store my docs when finishing kubernetes the hard way by kelsey hightower. I will use AWS for this case. this first section of blog will cover the 01-prerequisites and 02-jumpbox from the kelsey hightower docs.
Pre-requisites
EKS Cluster
According to docs. this tutorial requires four (4) virtual or physical ARM64 machines running Debian 12 (bookworm). The follow table list the four machines and thier CPU, memory, and storage requirements.
| Name | Description | CPU | RAM | Storage |
|---|---|---|---|---|
| jumpbox | Administration host | 1 | 512MB | 10GB |
| server | Kubernetes server | 1 | 2GB | 20GB |
| node-0 | Kubernetes worker node | 1 | 2GB | 20GB |
| node-1 | Kubernetes worker node | 1 | 2GB | 20GB |
AWS-CLI
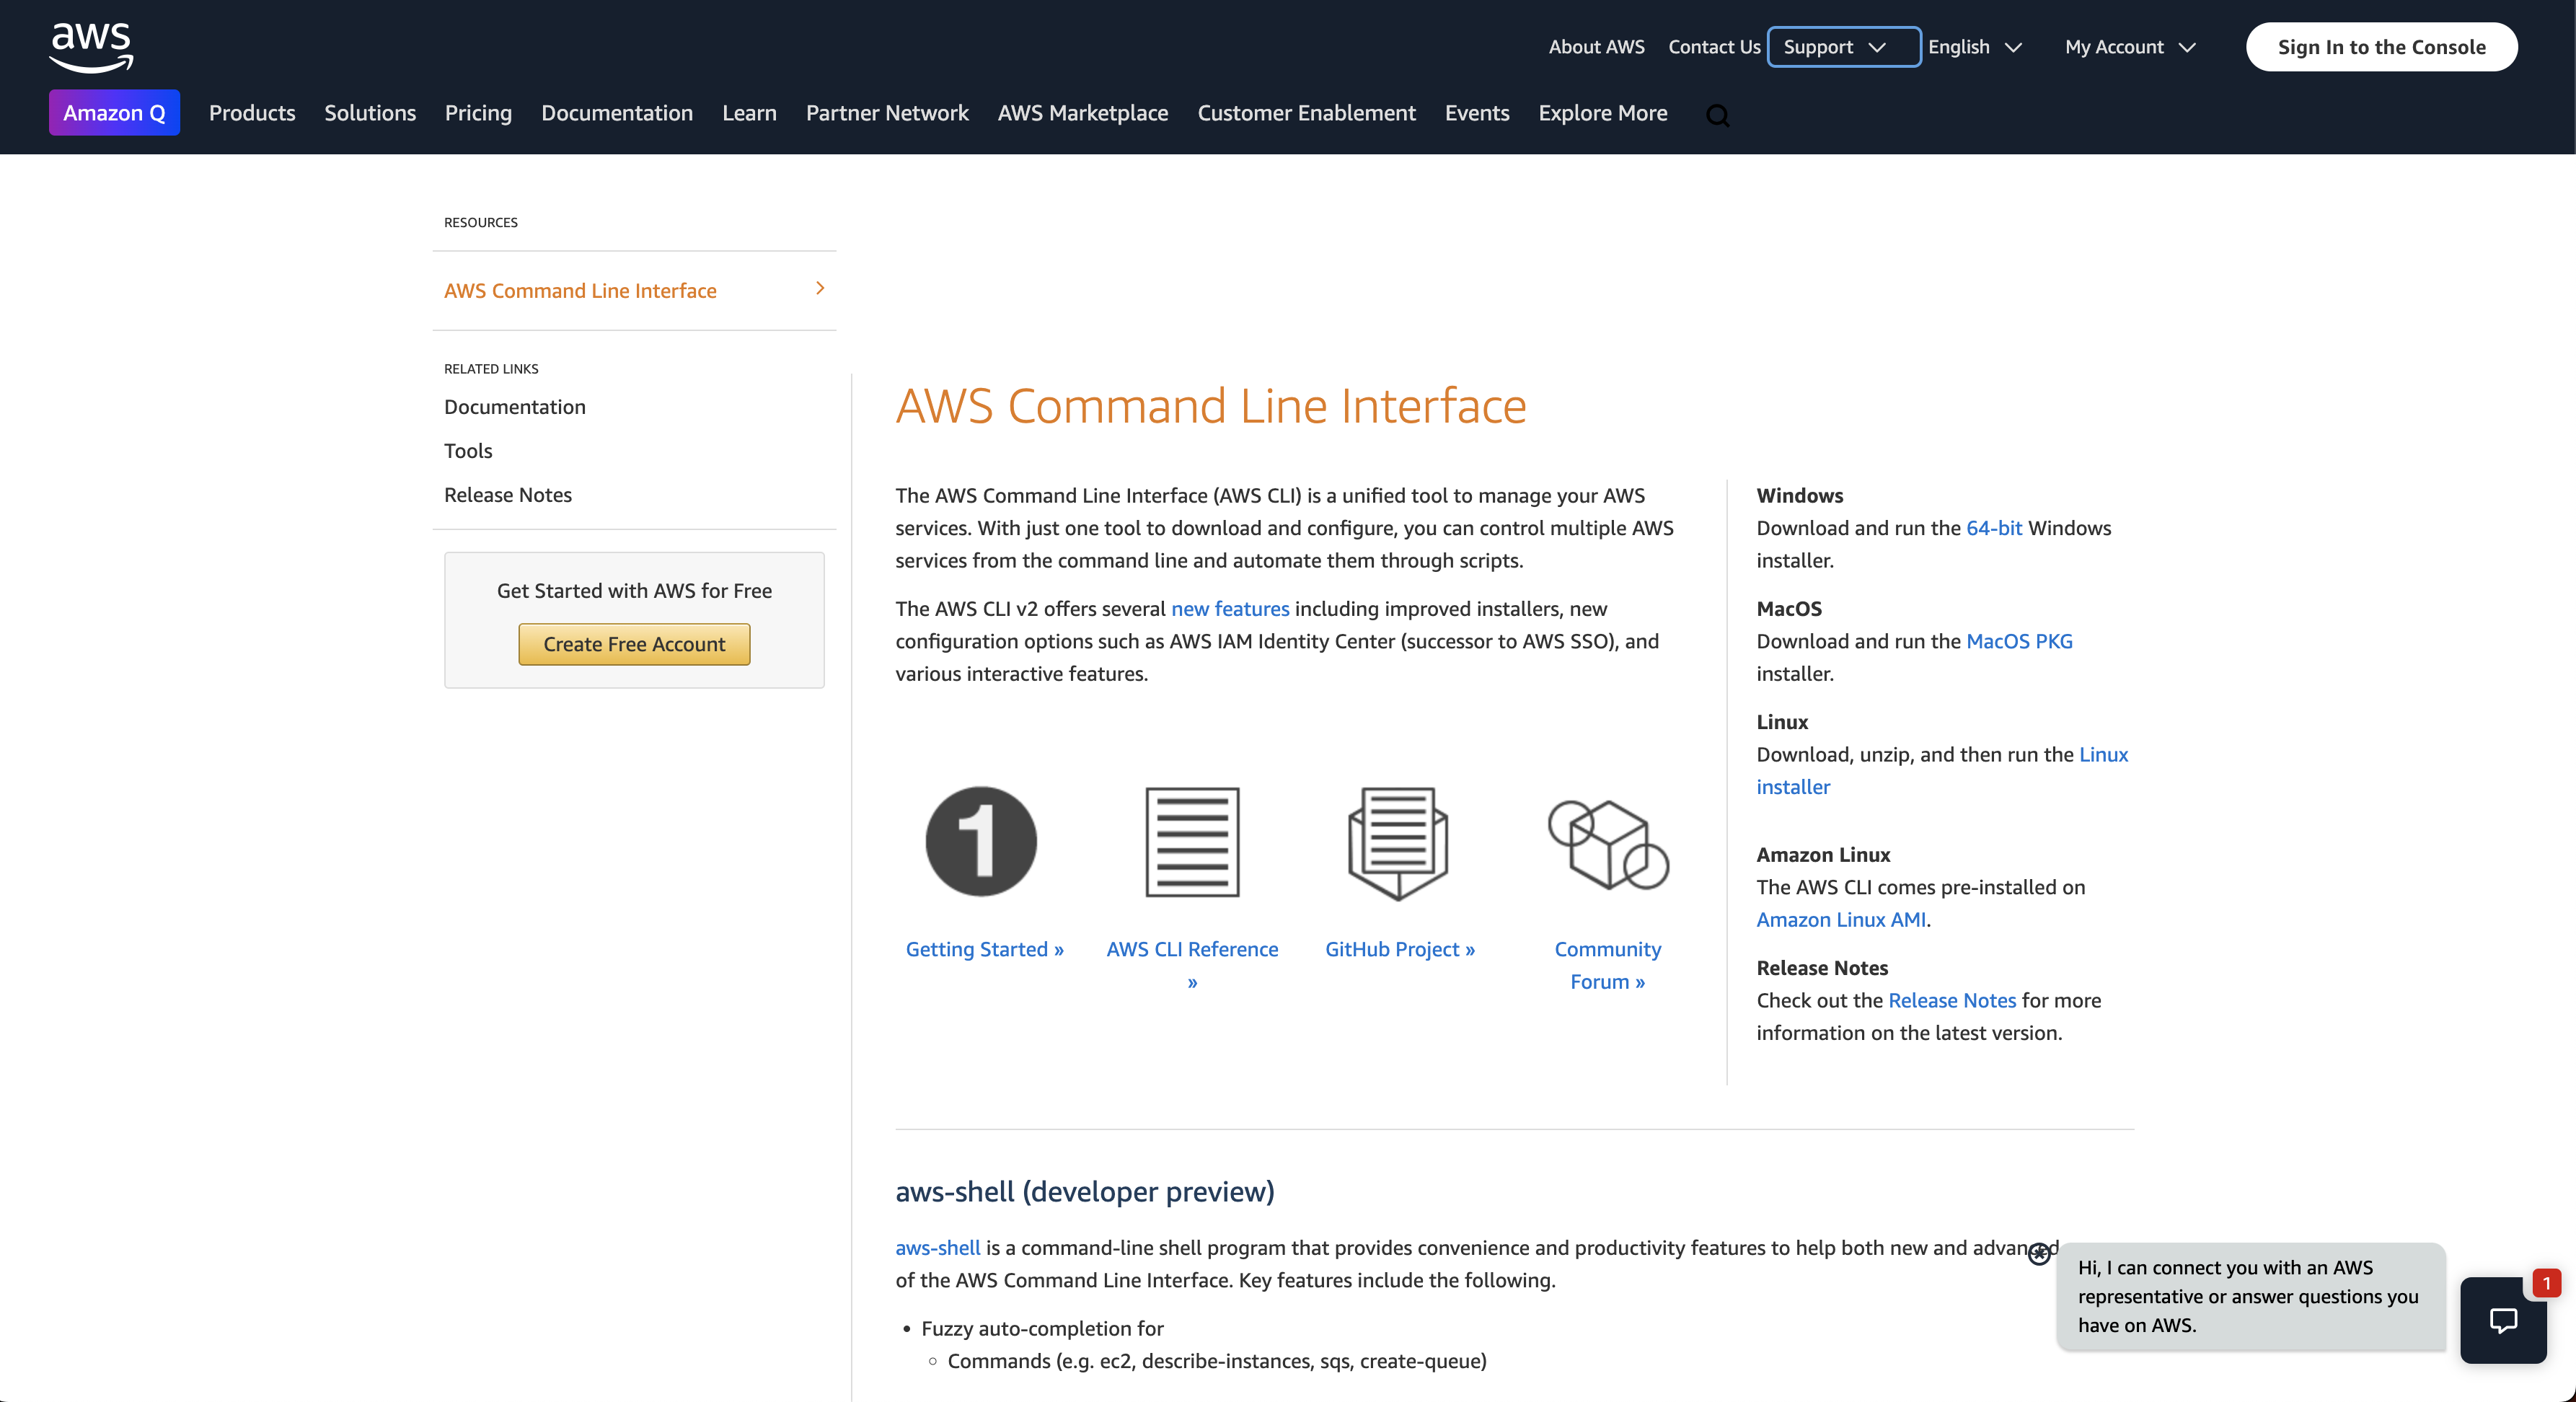
# confirm installation using
aws --version
JQ
used for command-line JSON processor. It's used in the guide to parse and manipulate JSON data. Kubernetes often uses YAML or JSON for configuration files. jq helps extract specific values from these files, making it easier to automate tasks or build scripts.

brew install jq
Client Configuration
CFSSL & CFSSLJSON
brew install cfssl

# verify
cfssl version
These tools are used to create and manage certificates for TLS/SSL encryption, cfssl and cfssljson help set up a Certificate Authority (CA) and generate the necessary certificates (for the API server, kubelet, etc.) to establish secure connections.
Kubectl
The primary command-line tool for interacting with a Kubernetes cluster. You use it to deploy applications, inspect cluster state, manage resources, and more.
# Installation
brew install kubectl

# Verify
kubectl version --client
Setting up aws-cli
# Configure aws-cli IAM access
aws configure sso
Prepartion of IAM Access
Make sure you enable the IAM access in aws console. visit this link https://console.aws.amazon.com/singlesignon. IAM can only be specified for 1 region lock. so choose you region before adding it
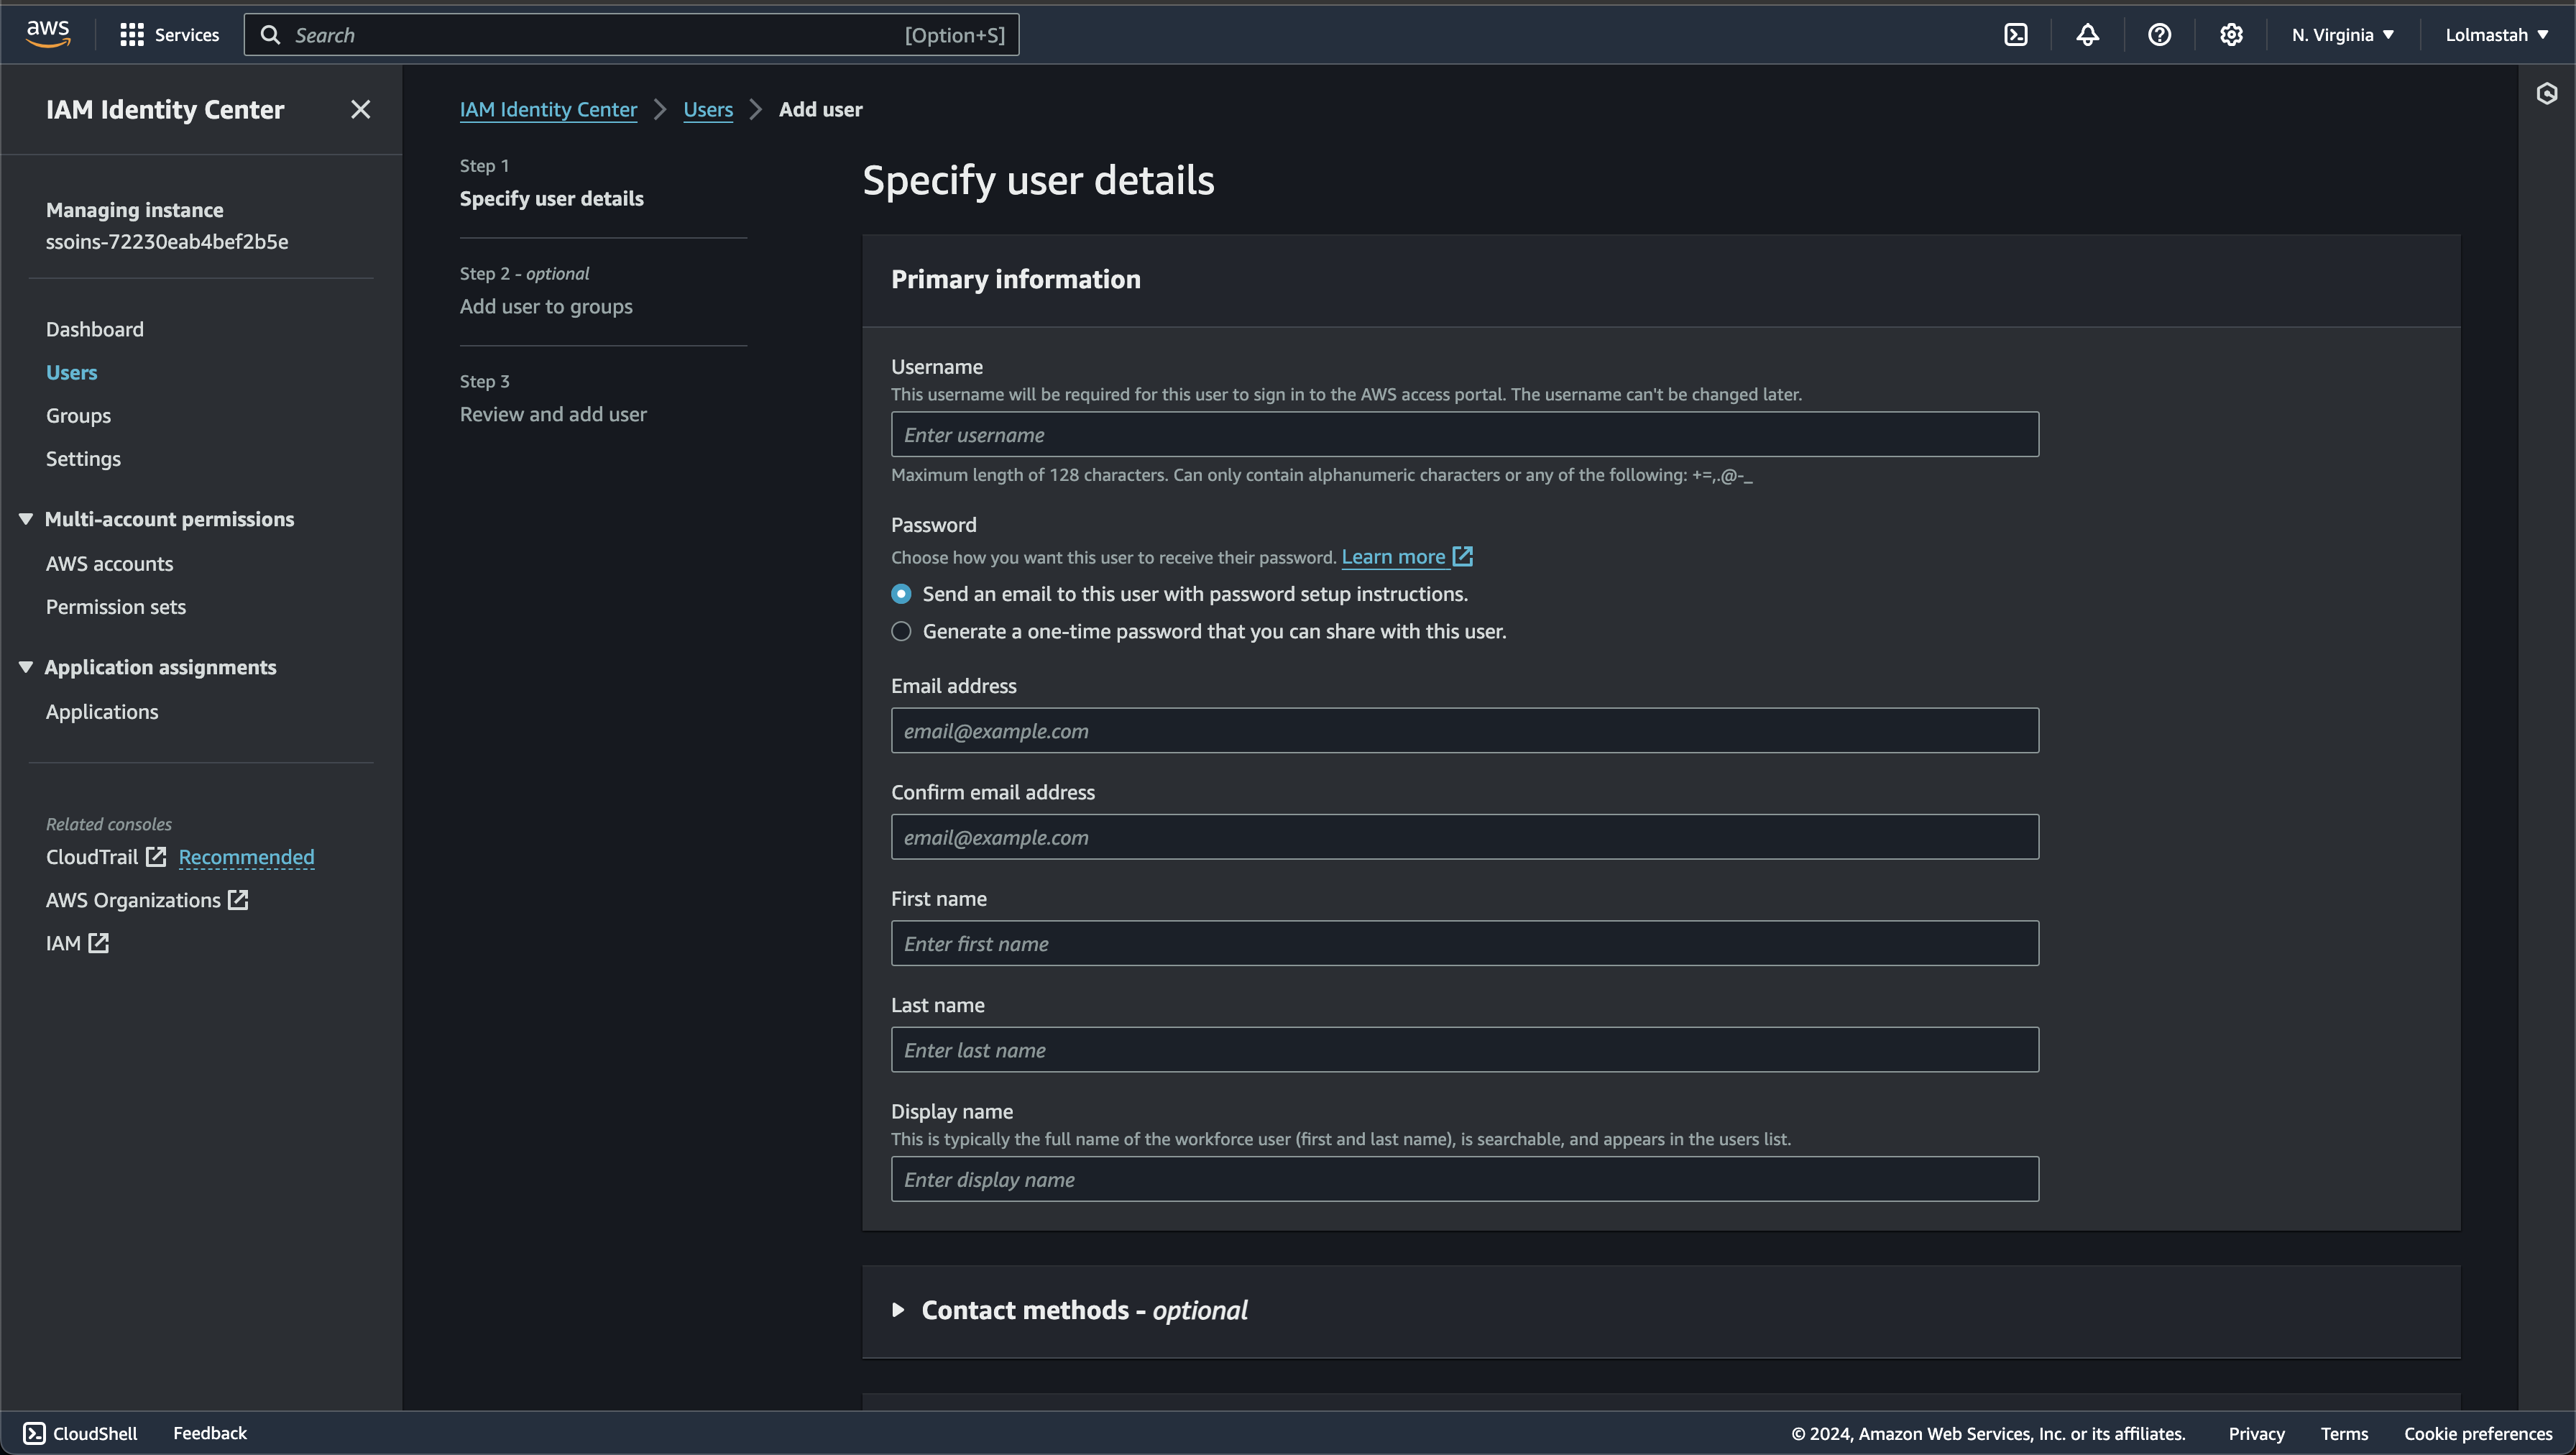
Create new IAM Users
Can fill out in this page for user related information
if the user created successfully. can redirect to permission set to create new permission & assign to your user

if the setup succeed. there will be command to use user login
# Example command
aws s3 ls --profile your_name
Setting Up Resources In AWS
There is some component that need to be configured before I starting setup the kubernetes cluster. i will breakdown each component and how to do the installation
Networking
Now before setting up our cluster. its important to make sure that the network is ready to accept connection between compute machine.
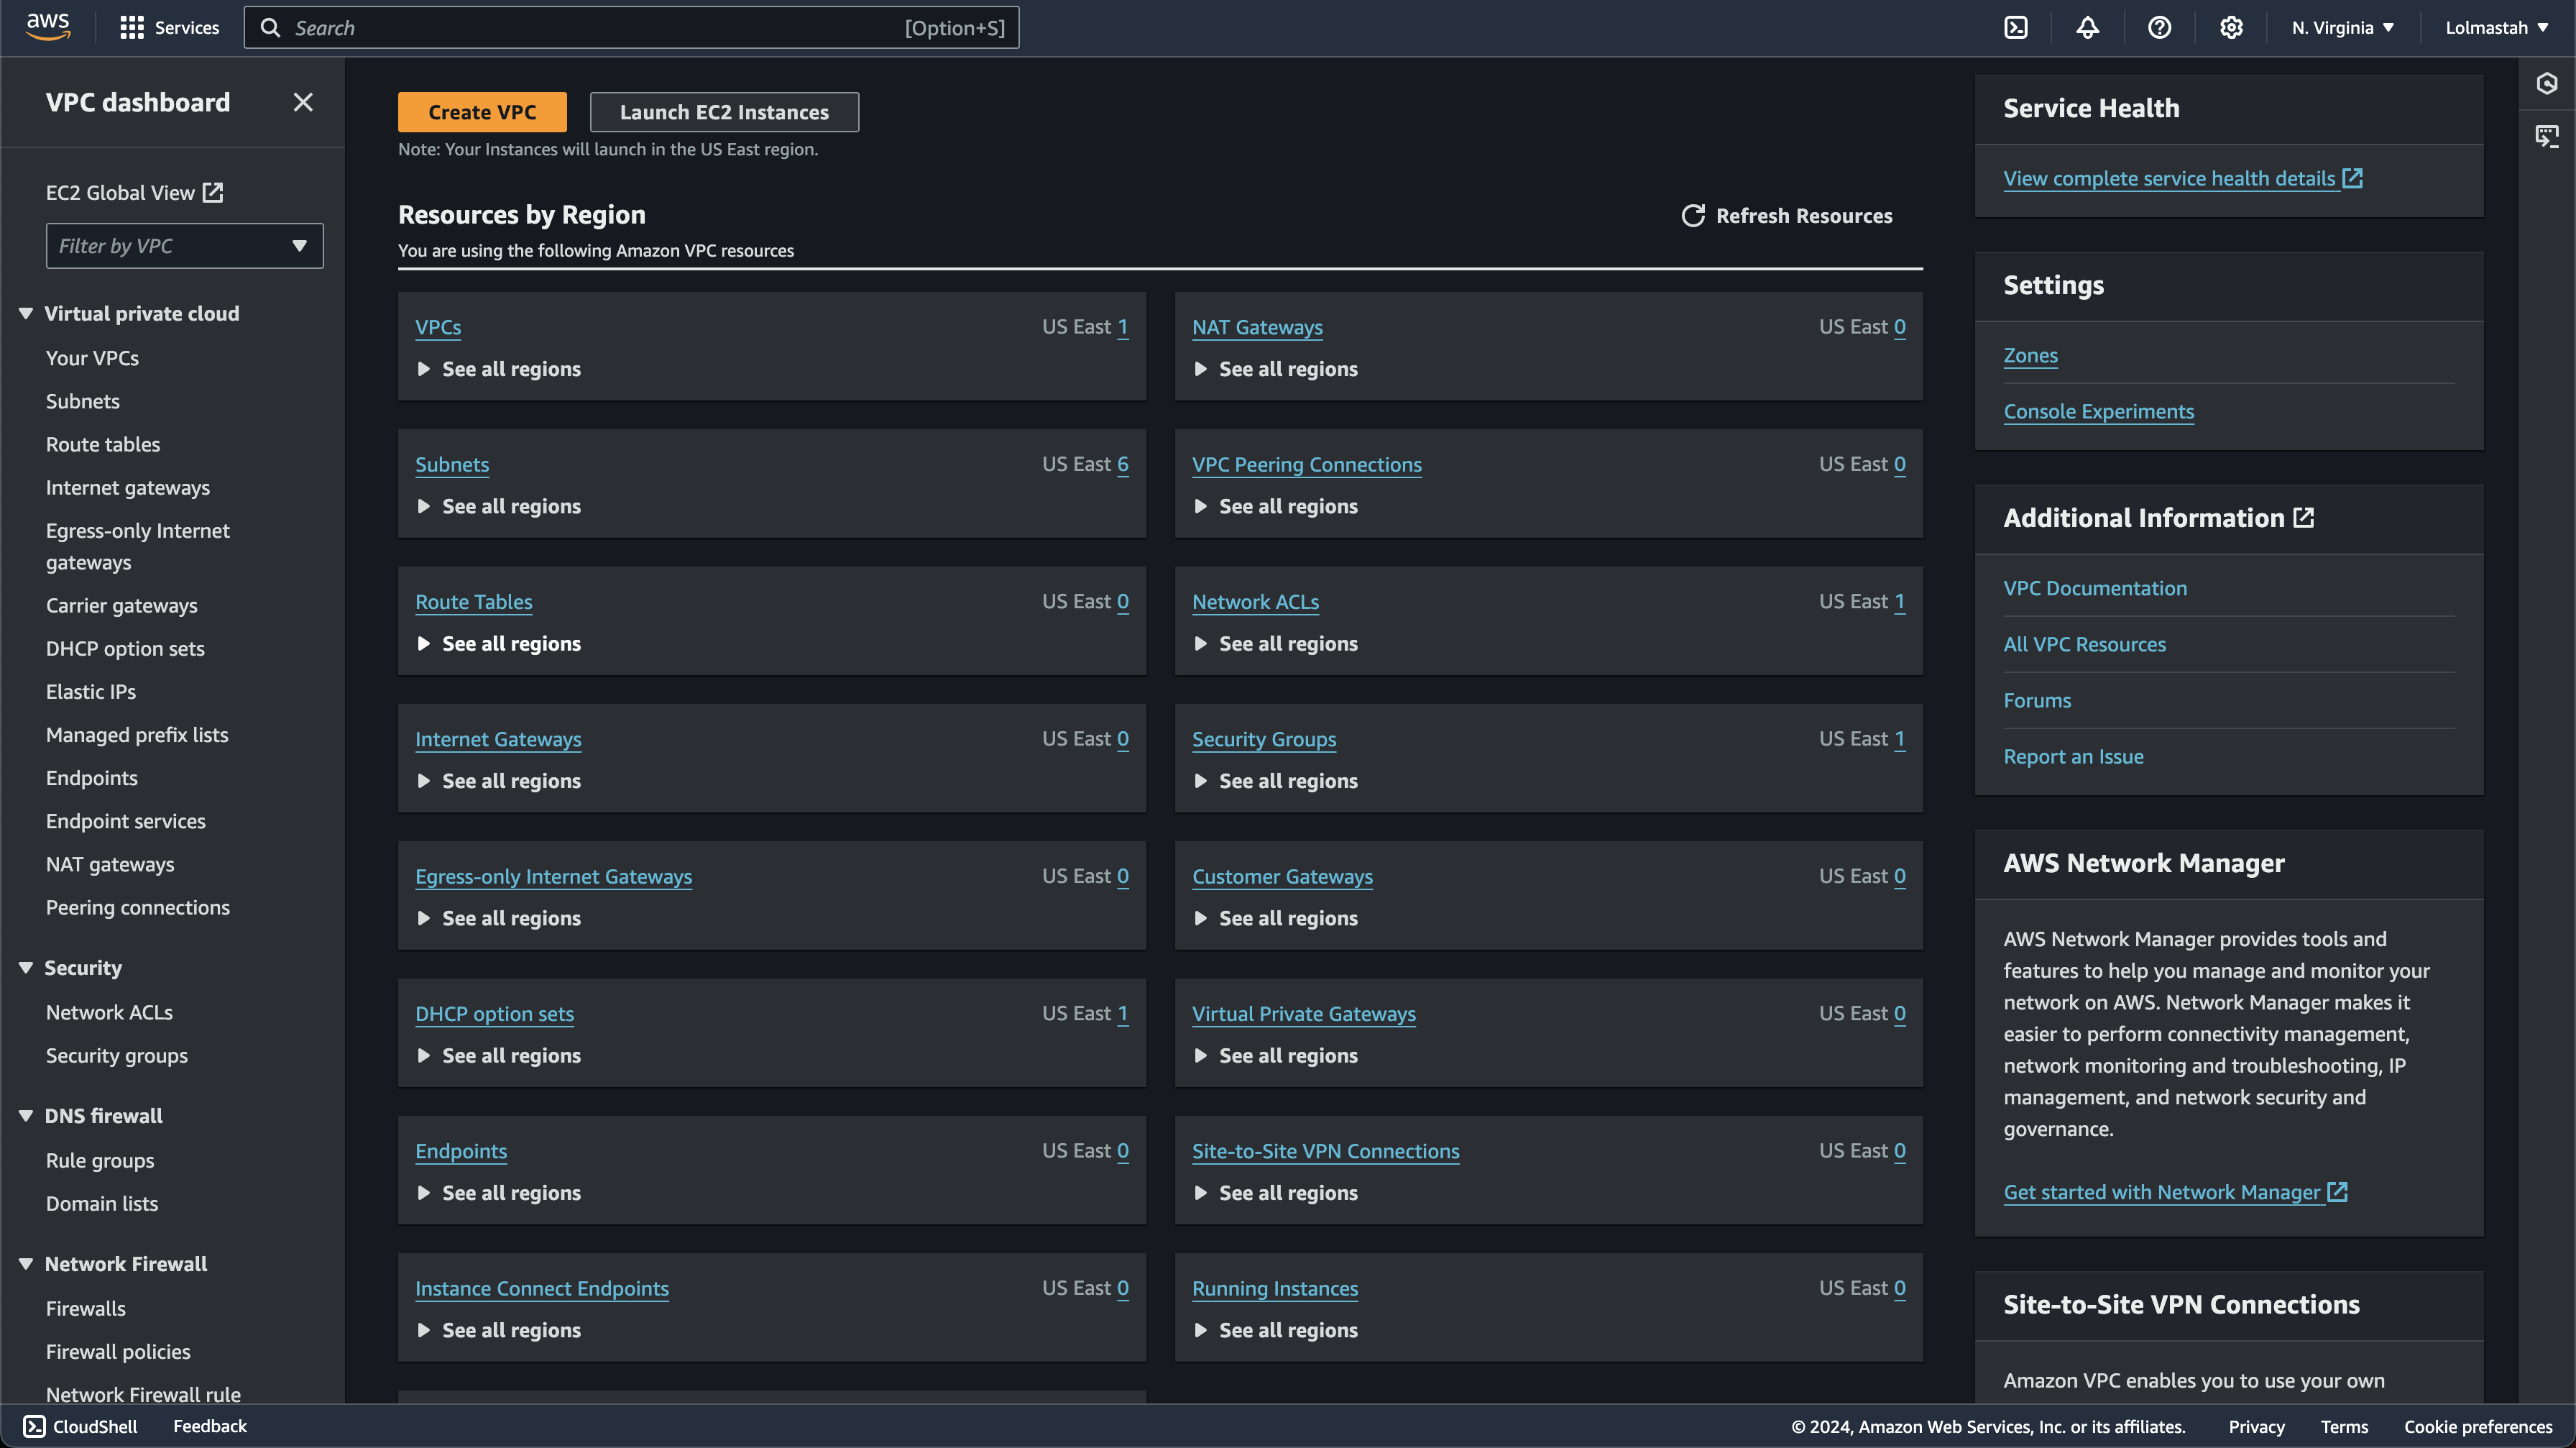
VPC
First thing is to setting up the vpc, In the simplest terms, a VPC is like our own private network within AWS. I can have full control over its IP address range, subnets, route tables, and network gateways. So its important to set this first before touching other network. For this project, it will be used as isolated environment for our kubernetes-project
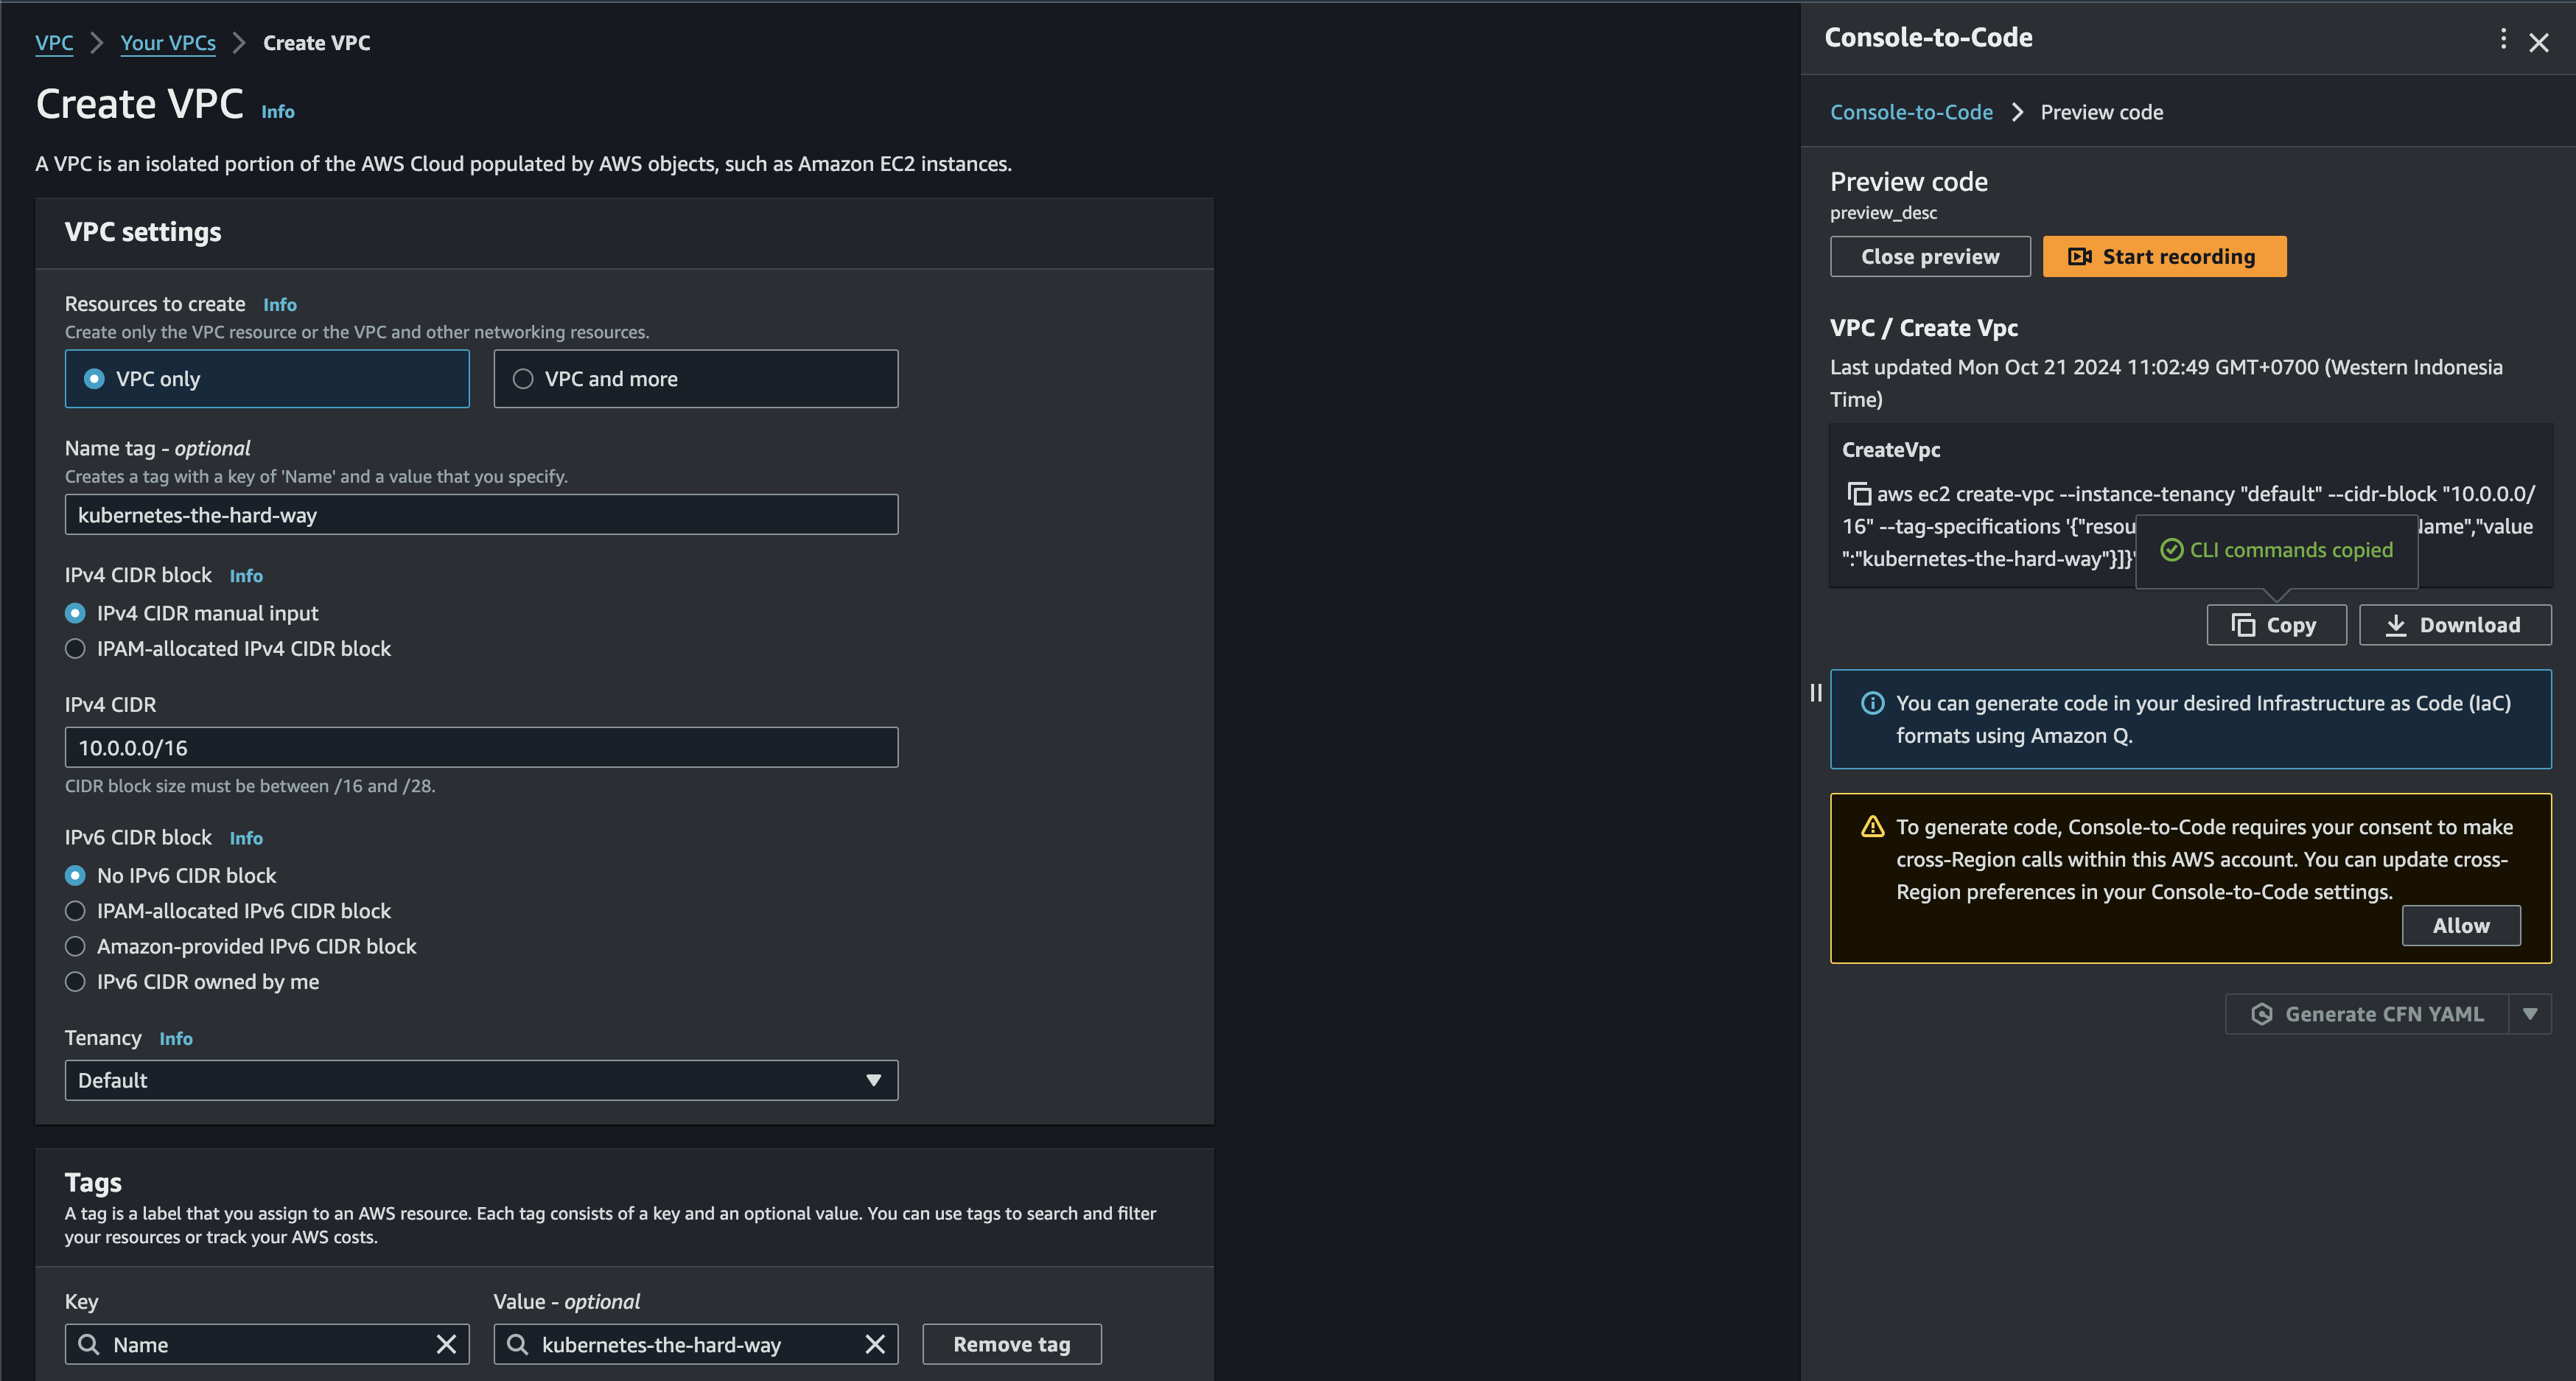
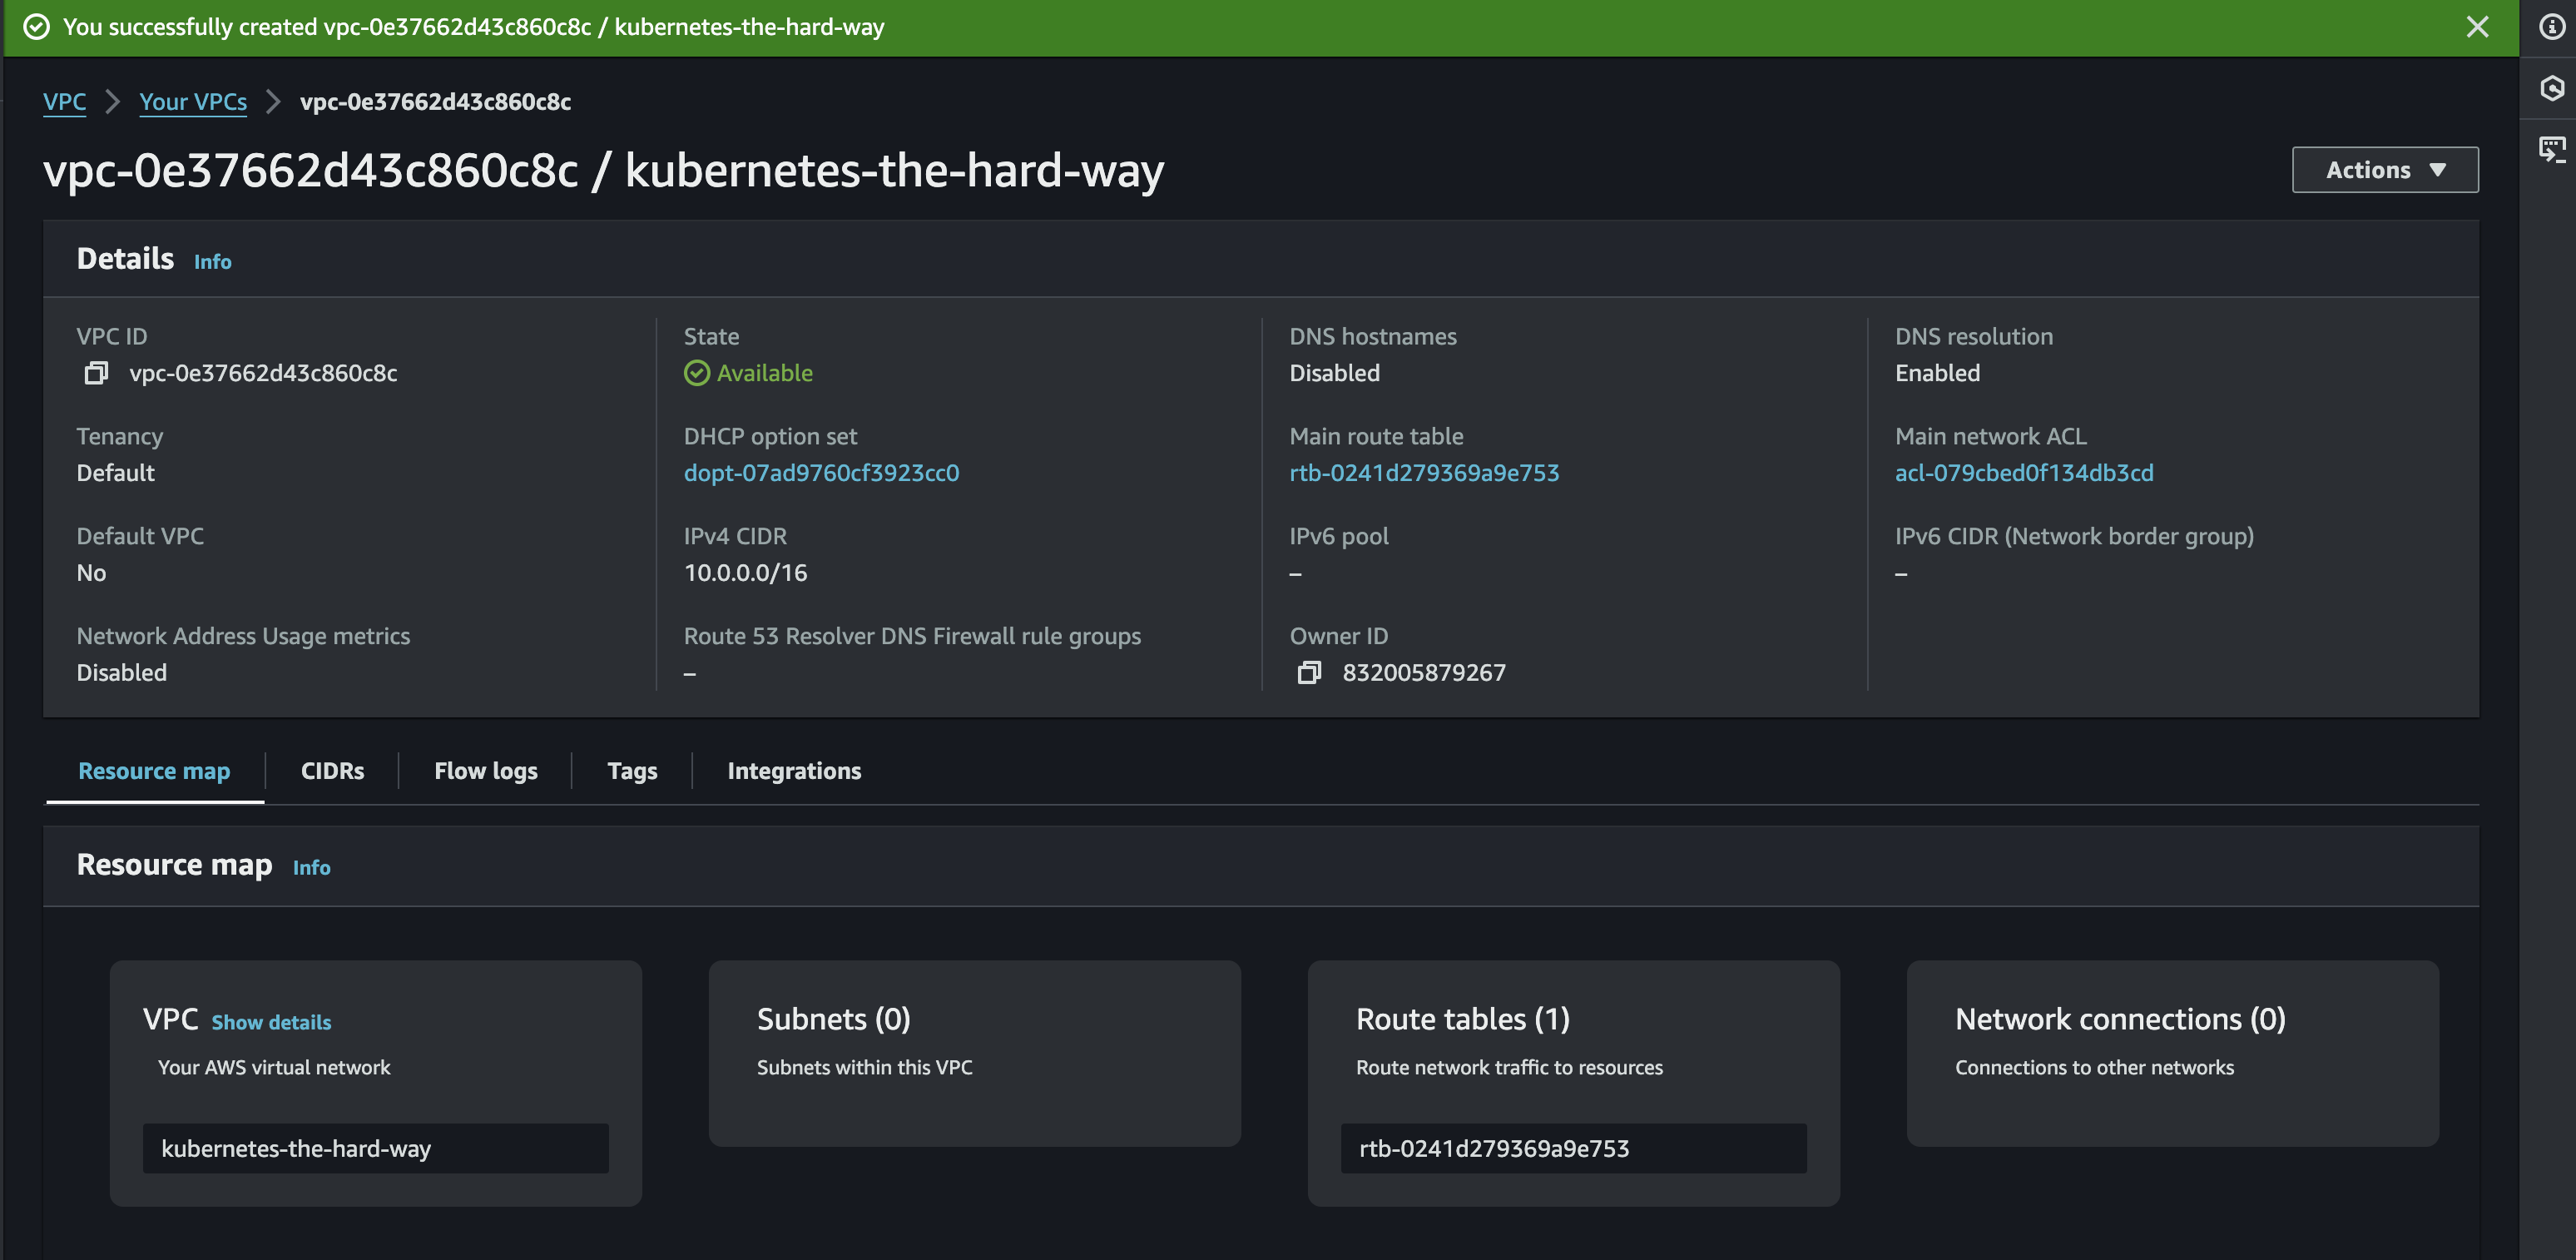
If the creation is succeed, then you will be redirected to your vpc
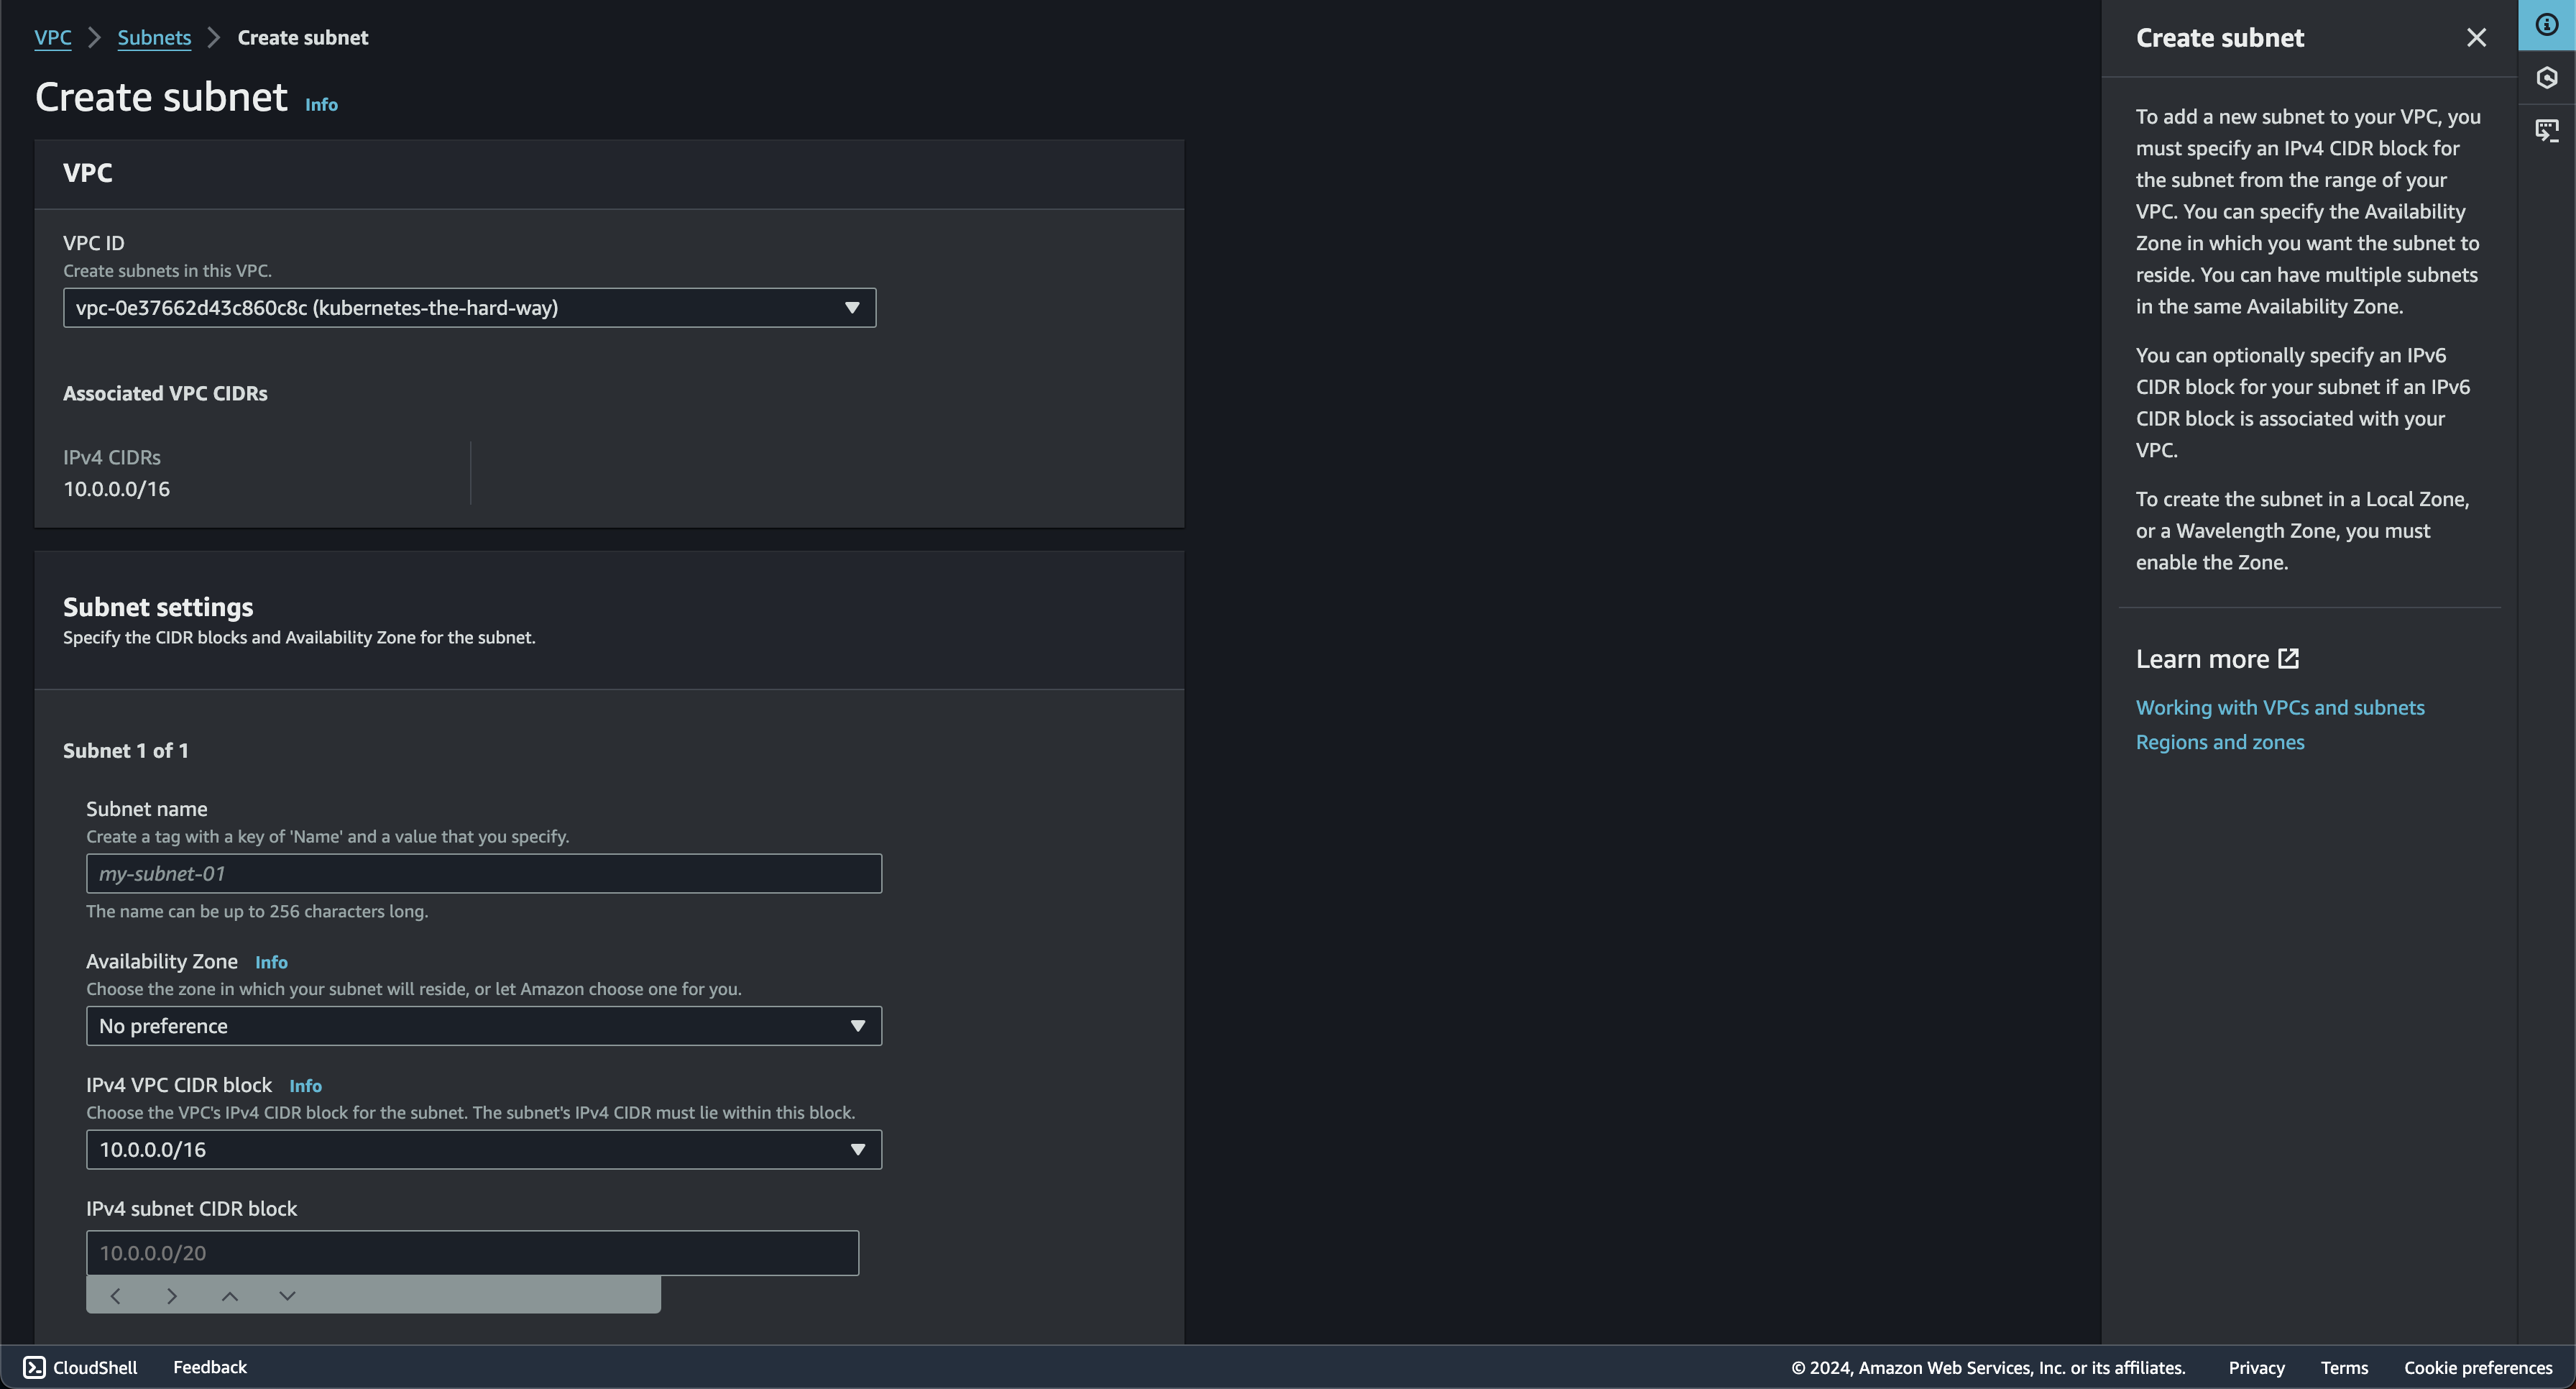
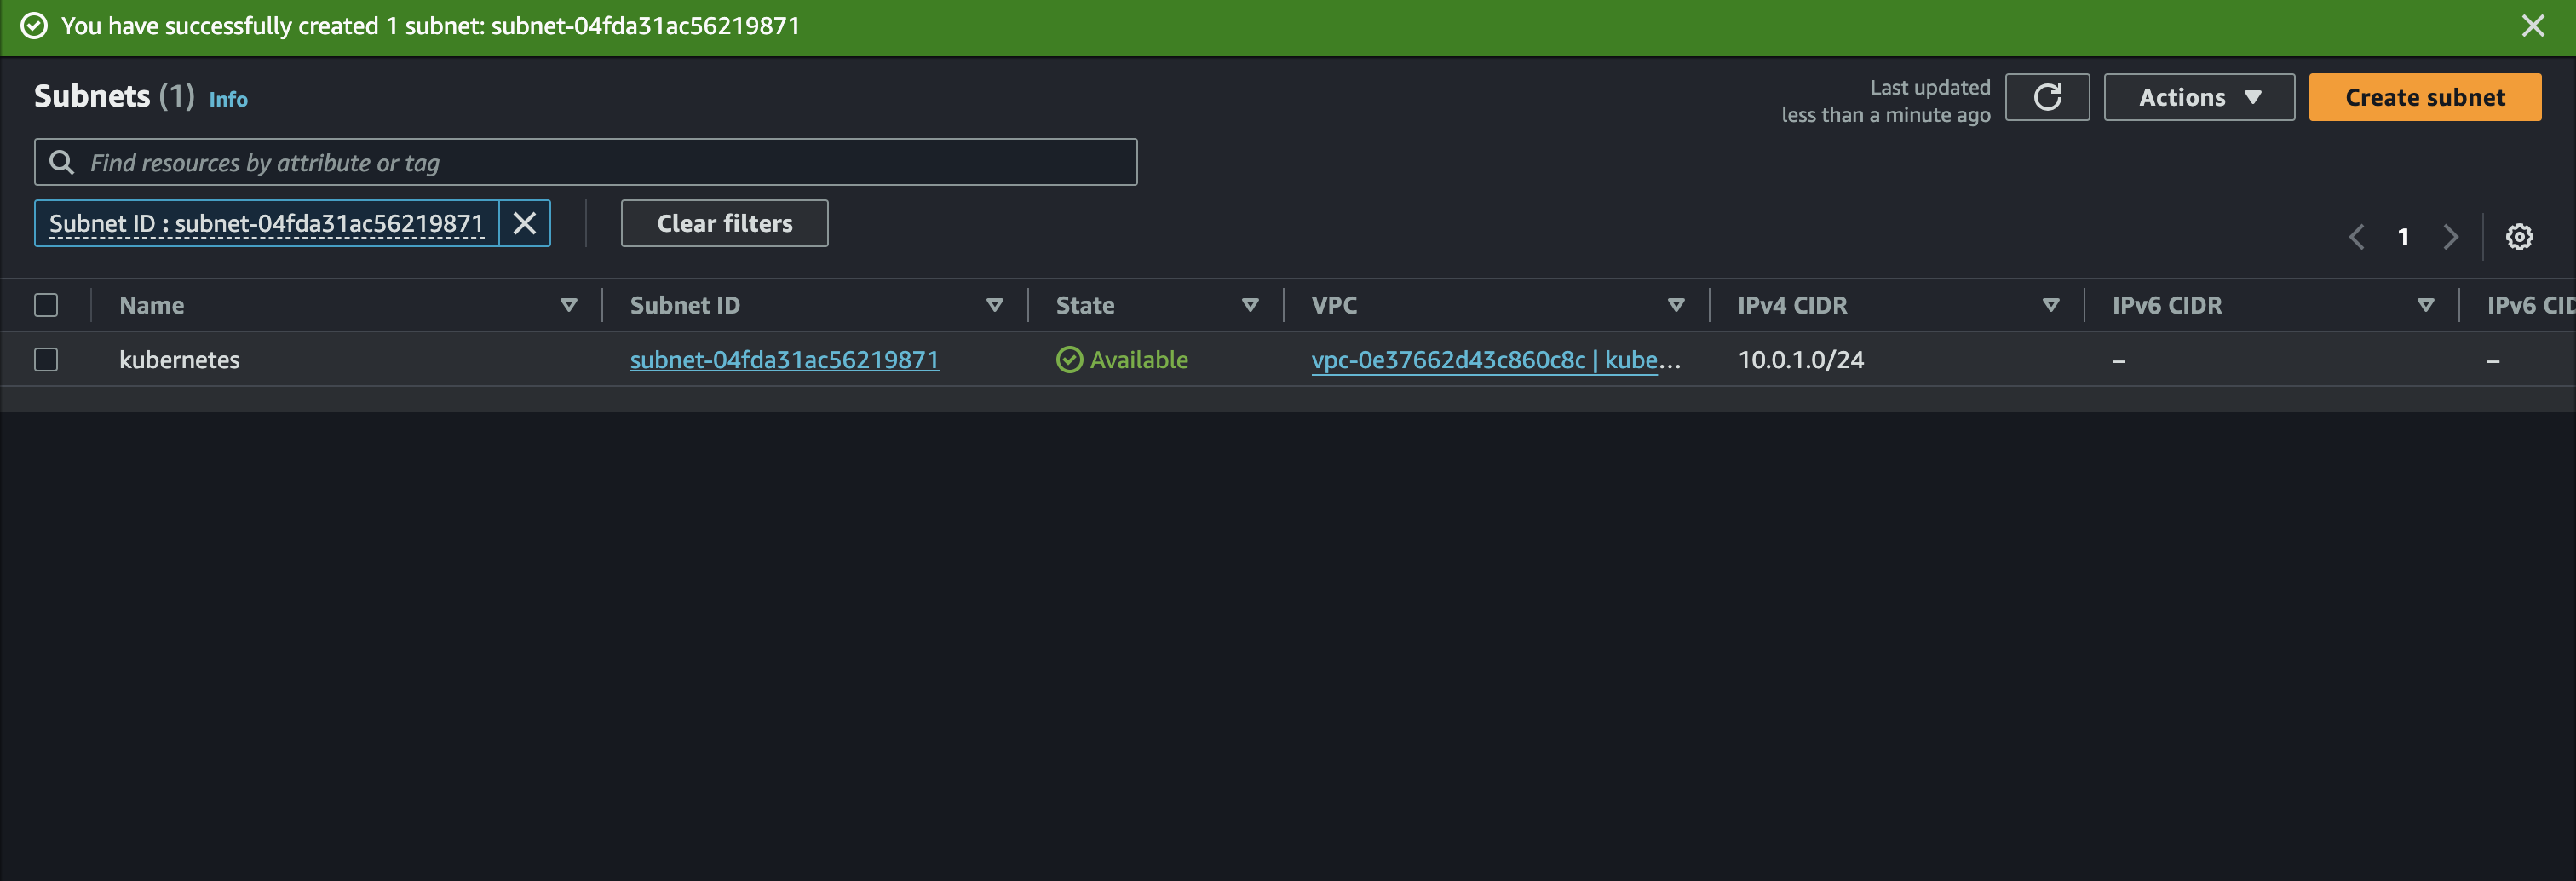
Subnet
If the vpc is ready. next is to configure the subnet. subnets in here will be used later to grouping segmented resources in my VPC. For example there will be controller nodes & worker nodes in this project. so by segmenting the network. I can apply different config or rules to each subnet. Other benefit is it can manage my IP addressed more efficiently. With assigning a smaller CIDR block to each subnet, preventing IP address exhaustion within your VPC.
You will redirected to subnet page if the creation succeed
Internet Gateway
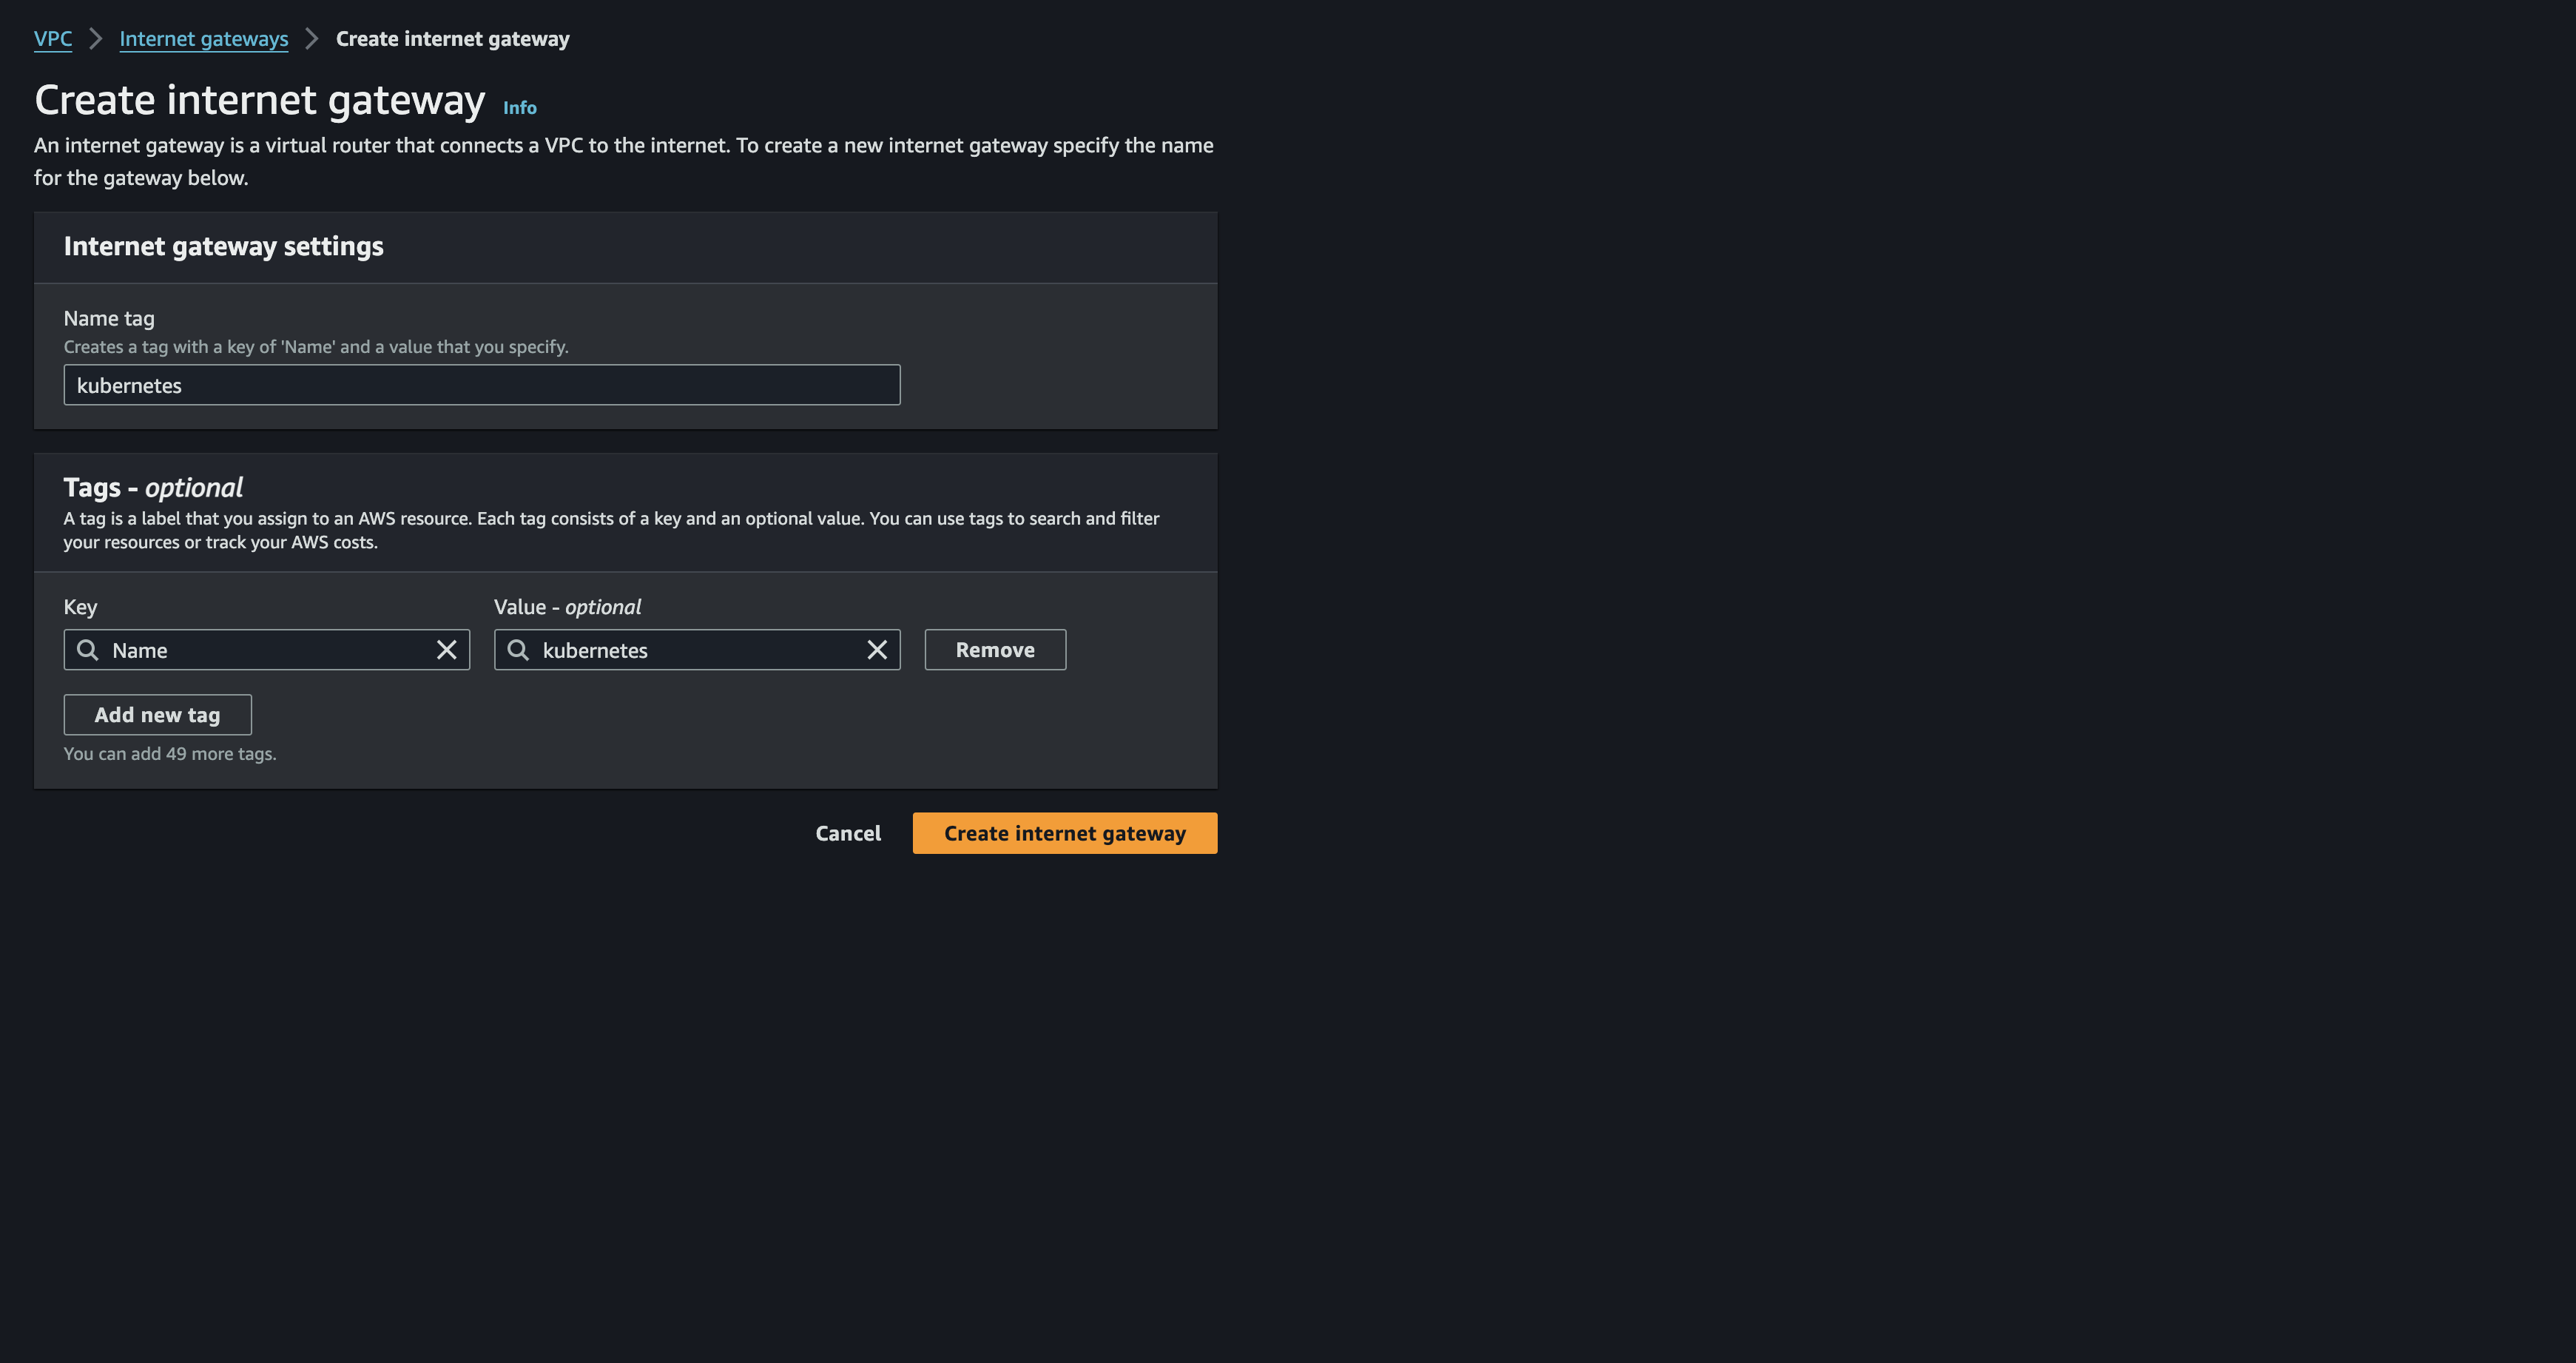
Now continue to internet gateway. simply this will open our kubernetes cluster to the internet. This will be necessary since I will need to pull images from docker or need external users to access my cluster. Internet gateway will translate the vpc private IP to public IP address. therefore the translated traffic will be routed to the internet. similiar process in reverse to reach resource within VPC from outside


Route Tables
Route table here will be used to ensure traffic destined for the internet is correctly directed to the Internet Gateway. without route table, instances within the subnet would have no idea how to reach the internet, even with an Internet Gateway attached to the VPC. It's like having a door to the outside world but no roads leading to it!

If the creation success. active route table can be seen from the Route Tables menu in aws VPC

Security Group
Security Groups act as virtual firewalls that control traffic at the instance level. This setting is the frontline defense in AWS, controlling network access to the instances

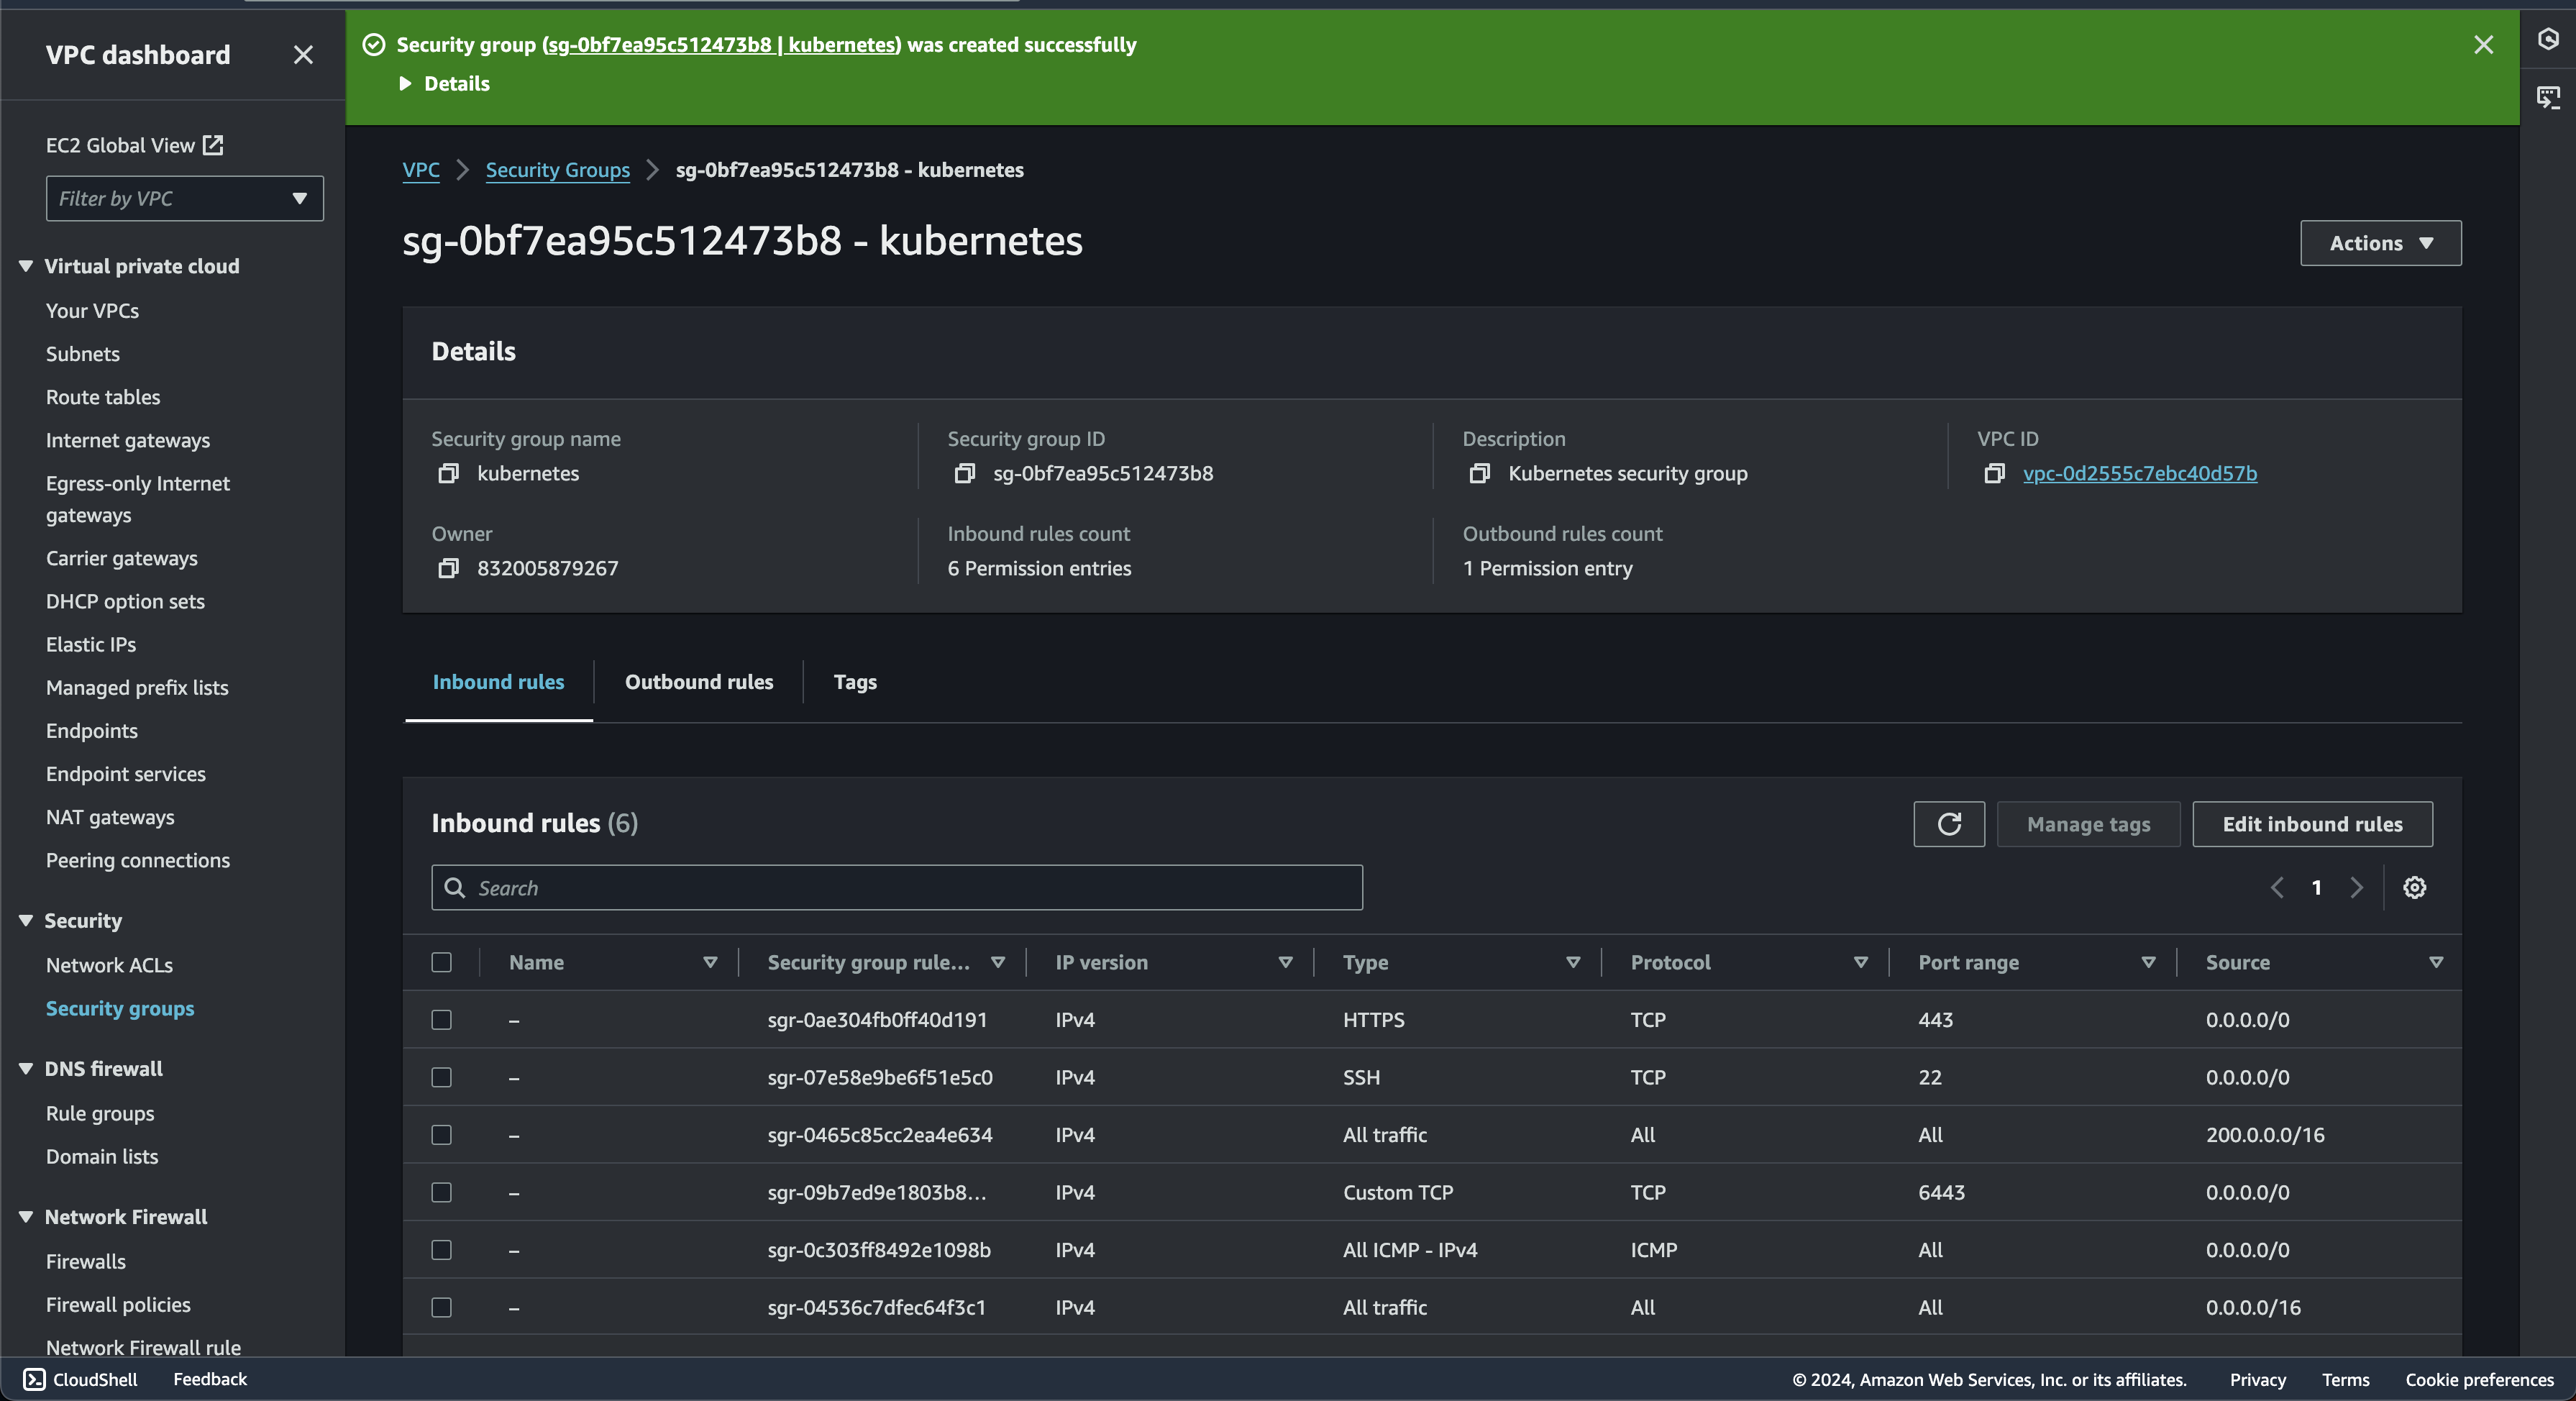
Now for the inbound rules settings. this will determine which incoming network traffic is allowed to reach resources protected by the security group. Here i will create several rules such as:

- --protocol all --cidr 10.0.0.0/16: Allows all types of traffic (TCP, UDP, ICMP) but only from within the VPC, ensuring Kubernetes nodes can communicate with each other.
- --protocol all --cidr 10.200.0.0/16: This rule enables communication between Pods (where your applications run within Kubernetes)
- --protocol tcp --port 22 --cidr 0.0.0.0/0: Allows SSH access from anywhere on the internet.
- --protocol tcp --port 6443 --cidr 0.0.0.0/0: Allows access to the Kubernetes API server (port 6443) from anywhere
- --protocol tcp --port 443 --cidr 0.0.0.0/0: Allows HTTPS traffic (for accessing your applications) from anywhere.
- --protocol icmp --port -1 --cidr 0.0.0.0/0: Allows basic "ping" requests from anywhere, which is useful for network troubleshooting.
After inbound rules finish. There is 1 question in my head. Do i need outbound rules?. so after quick search there is several conclusion that i get:
- By default, AWS security groups allow all outbound traffic. This means instances associated with your "kubernetes" security group can send traffic anywhere without restriction
- For initial setup and testing, allowing all outbound traffic might be sufficient. It simplifies things, especially if you're not entirely sure yet which external services your cluster will need to access.
So since i only using testing environment for my project. there will no requirement for now to add outbound rules. If everything goes smoothly. the page will be redirected to security group page
Conclusion Part 1
Ok, since we already finish setting start from the aws-cli up until the security group. the next step we will dive more to the Load balancer & Compute instance setup in AWS for this project. Continue to part 2
